Design through to Print
Printing information
I can remove the headaches you may have about supplying your artwork ready for printing. To make things easy I will take your artwork in most common formats and produce a Press Ready PDF for printing.
Unless you ask, I will not amend your design in any way and will inform you if I spot anything I think is incorrect or doesn't look quite right. I am happy to amend or tidy up your design if you ask but I have to charge extra for this service.
How to get the best from your Artwork
Here are a few things that will help you to achieve the best from your artwork, particularly when dealing with images and pictures.
Pictures on the web are usually at low resolution, normally a 'gif' or 'jpeg'. There are limitations when it comes to printing 'gifs' because they are not designed for printing, only for viewing on a screen.
The images are made of little dots (pixels) of a specific size. If you try to resize the image upwards these dots can become distorted and you lose the definition of the image.
Why would you want to resize the image?
'Gifs' on the web are almost entirely fixed at 72ppi (low resolution), but to print a really clear image I need 300ppi (high resolution) placed at 100% or less.
Therefore images from websites or that have been created for the web are useless for printing - they will look very fuzzy - known as pixellated.
So in general, do not resize 'gifs' or low resolution images, but if you do, make them smaller not bigger!
Try to ensure your graphics image is supplied at the actual size for printing at 300ppi.
Whether printed on paper or displayed on your computer screen, a picture is made up of tiny little dots.
In black and white printing, the size and shape of the black dots and how close or far apart they are printed creates the illusion of shades of grey. The more dots in a picture, the larger the size of the graphic file. Resolution is measured by the number of dots in a horizontal or vertical plane in inches. Therefore ppi = pixels per inch and dpi = dots per inch.
The Colour Conundrum - RGB or CMYK?
Everything that you see on your computer screen is created out of the colours Red, Green and Blue - RGB. They work together to create bright, vibrant and vivid colours.


Full colour printing uses Cyan, Magenta, Yellow and Black - CMYK - instead to create more colours plus contrasts, tones and half-tones.


If you are sending any sort of artwork file you must change your artwork from RGB to CMYK.
Once altered to CMYK the colours you see on your screen will seem a bit flatter and with less 'zing', so don't be surprised if what you see was not quite what you expected - it is one of the small side effects necessary to make your artwork print beautifully.
The image shows an enlargement from the picture of the parrot, showing how your eyes smooth the dots in the printed picture.
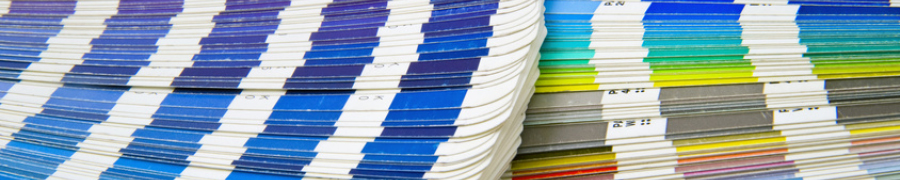
Pantone or Spot Colour Printing
Although Four Colour Process printing (CMYK) can print a vast number of colours, it is unable to match a spot or Pantone colour exactly. However, it can produce a fairly close match.
Pantone swatch colours are displayed in special books which identify the colours via their unique reference numbers. Some books also include the ratio of CMYK colours needed to create, as near as possible, the Pantone colour.
Page sizes
The down measurement is always quoted first, so that you can tell if the document is portrait or landscape.
A4 Portrait = 291mm x 210mm • A4 - Landscape = 210mm x 297mm
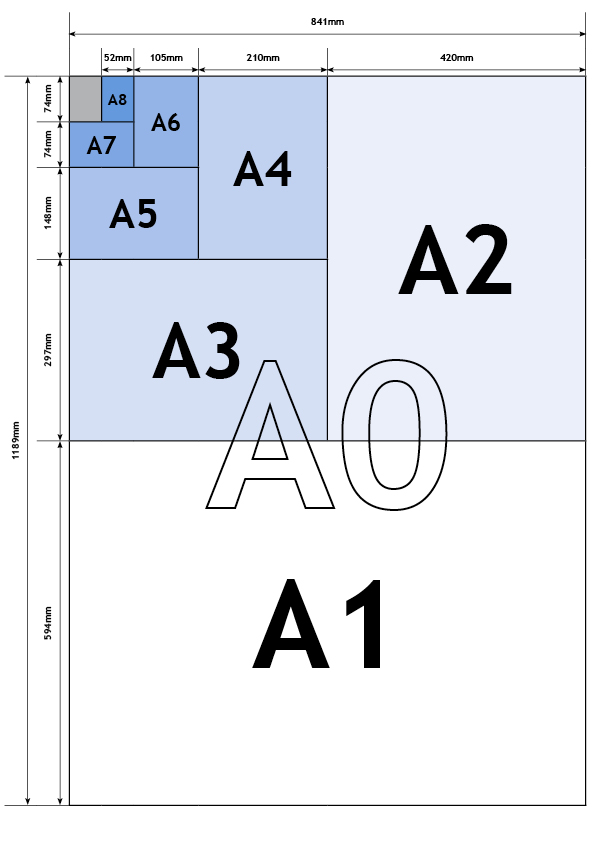
Paper Sizes
A7 - 105 x 74mm
A6 - 148 x 105mm
A5 - 210 x 148mm
A4 - 297 x 210mm
A3 - 420 x 297mm
A2 - 594 x 420mm
A1 - 840 x 594mm
A0 - 1188 x 840mm
Paper Sizes Diagram
Envelope Sizes
DL - 110 x 220mm
C6 - 114 x 162mm
C5 - 229 x 162mm
C4 - 324 x 229mm
C3 - 324 x 458mm
Special Sizes
Business card - 55 x 85mm
1/3 A4 - 99 x 210mm
2/3 A4 - 198 x 210mm
Letter - 215.9 x 279.4mm
Legal - 215.9 x 355.6mm
Text 'Safe Area'
When you are including text within your design it is a good idea to ensure that there is a 'safe area' of at least 5mm to the edge. This allows for some movement of the material when it is being trimmed and also makes it much easier to read!
What is Bleed?
Bleed is a term that refers to ink that prints all the way to the edge of a trimmed page. So if your design calls for ink to extend right to the edge of the paper (the trim), your ink is bleeding off the page and you need to build a bleed margin into your artwork.
Print that has white around the edges does NOT bleed, but if you have images or backgrounds that you want to print right to the edge of the paper you must design your job larger than the final finished trimmed size.
To achieve a full bleed document I actually need to cut through this area of extended image/background.
To create bleeds, make your document larger than the final finished cut size. Generally we require that you make your document 3mm larger on all four sides to leave enough bleed area for me to trim in to - but if in doubt, give me a call!